The most difficult objects to mask are those with soft , undefined edges . This is a rough-cut issue in photos snapped using a wide aperture ( or too close to the object ) , result in an progressively cushy focus as the object extends out of the lens ’ focal range . accommodate this variation in direction can be a challenge . To aid get your masquerade just aright , I ’ll show you two advanced masking technique for Adobe Photoshop CS4 and CS5 .
Prepare your mask
You ’ll need to do a bit of prep workplace before executing the measure below . Open a photo and make a mask using the technique sketch in an insertion to Masking Parts and Advanced Masking : Vector Masks . In area where the object trend out of stress , make indisputable the mask ’s edge runs comfortably inside the object ’s fuzzy boundary .
Arrange your layers so that the exposure and its masque are the topmost layer , with a color filling bed underneath .
Once you ’ve completed the introductory mask , you ’ll have to set up the papers ’s layer so that you could correctly follow the steps . The uppermost layer should contain the object photo and the initial mask , and below it , a colour filling layer that will help you see the mask . You must convert any vector masks to raster masks before continue . mastery - click the mask thumbnail and choose Rasterize Mask from the contextual menu .
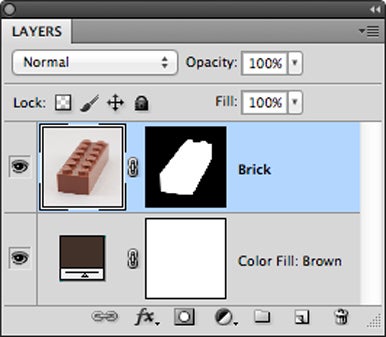
Arrange your layers so that the photo and its mask are the topmost layer, with a color fill layer underneath.
Technique 1: Use the Blur Tool
This proficiency can be used to selectively weaken the edges of your mask . It ’s an good way to deal with target that have multiple floor of blurring ( i.e. , a watering can whose spout and handle extend out of focus in paired centering ) .
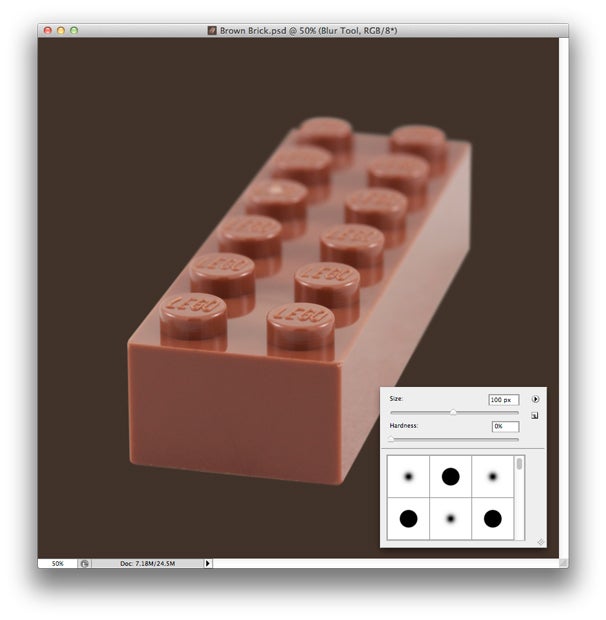
Choose the Blur Tool .
In the Options Bar , clack the Brush Preset picker and prepare the skirmish size of it to 100 pixels with a insensibility of 0 percent . This means that the fuzz is apply most densely at the nerve centre of the brush and barely at all at the edge , so that the transition between foggy and non - blurry field of the mask is smooth .
The more you apply the Blur Tool, the softer the mask’s edges.
In the Options Bar , determine the Strength to 100 percent .
Go to Layers ( Windows - > Layers ) and click the bed mask thumbnail , which you ’ll see to the right field of the stratum thumbnail . This take into account you to make edits directly to the mask without receive to enter Quick Mask mode or switch to channel .
expend the Blur Tool to paint over the edge of the aim that need a soft focus . You ’ll notice that the mask ’s boundary get blurrier with each CVA . implement blur more generously as you move away from the focal point , and in a few minutes , you ’ll have a sensibly exact mask .
The more you apply the Blur Tool, the softer the mask’s edges.
The more you apply the Blur Tool , the easy the masquerade party ’s edge .
Technique 2: Use Lens Blur
This technique can guess the raw blur of the photographic camera , make it a better choice for objects with more marked fuzz . It ’s best used on object with simple shapes ( i.e. , a coffee bar ) that drop off out of focus in only one direction .
Double - chatter the Quick Mask Mode ikon in the tool gore to call up the Quick Mask Options and ensure that Color betoken : Selected Areas is chosen . Click OK to continue .
put down Quick Mask Mode ( Hit Q on the keyboard ) .
Here again, the more you apply the Blur Tool, the softer the mask’s edges.
pick out the Gradient Tool .
In the Options Bar , cluck the Gradient chooser and then choose the gradient in the top exit ( Foreground to Background ) . ascertain that the current foreground colour is white and the current background colour is grim .
Using the Gradient Tool , click the canvas where the exposure is most in focus , and then drag the pointer to where it ’s least in focus . As soon as you let go , a scarlet slope will appear over the canvas .
Return to Standard Mode ( Hit Q on the keyboard ) .
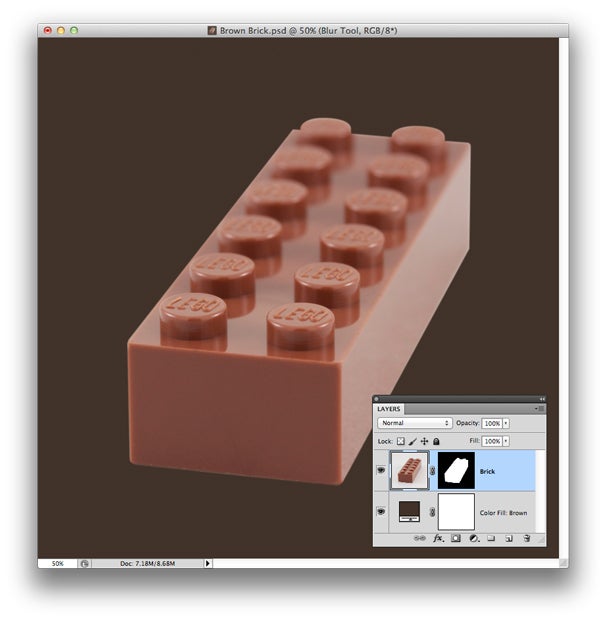
Go to Layers ( Windows - > Layers ) and click the bed masquerade party thumbnail , which you ’ll see to the right of the layer thumbnail . Once again , this allow you to make edits directly to the mask without having to enter Quick Mask mode or tack over to Channels .
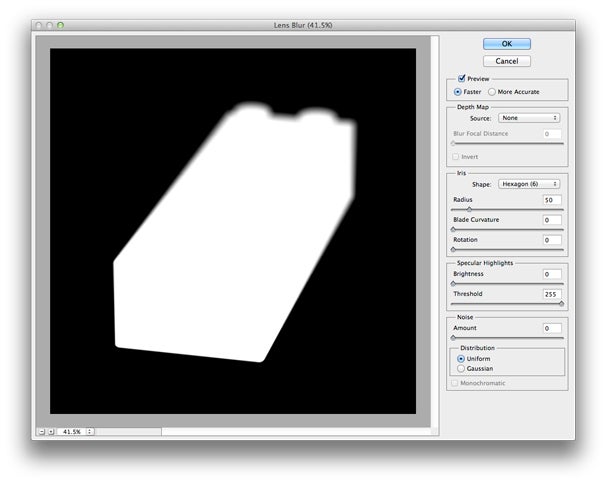
Choose Filters - > Blur - > Lens Blur . On the right of the filter interface , you ’ll see a handful of selection . The only one you should concern yourself with is Radius ( under Iris ) . As you hale the slider from left to right wing , you ’ll see the masquerade party get progressively blurrier along the gradient you just added . When you think you ’ve approximated the actual focal dropoff in the photo , click OK . The results are immediate ; if you do n’t like what you see , back up and sample again .
Finishing up
After applying either of these techniques , you might find that the object has a soupcon of an aura when overlaid on dark-skinned colors . This atmosphere can be curb quite easy in Adobe Photoshop CS5 .
Go to Layers ( Windows - > Layers ) and dawn the layer mask thumbnail .
take Select - > Refine Edge . A windowpane put up refinement options will appear , and you ’ll ask to tweak two detail . First , enter a figure of -2 percent in Shift Edge .
Check the option to Decontaminate Colors and align the skidder to 75 per centum . All other fields should stay 0 . penetrate OK to lock in the changes . ( Note that this action creates a duplicate layer because it modifies the original photo . ) The mask should be nearly flawless now ; to settle it , just control - click the stratum masque thumbnail and choose Apply Mask .
Here again , the more you hold the Blur Tool , the softer the masquerade party ’s edges .
[ Chris McVeigh , a frequent contributor to Macworld , is an writer , illustrator , and toy photographer in Halifax , Nova Scotia . ]
